Lead came soldering
1344×768 · AVIF · CC BY 4.0

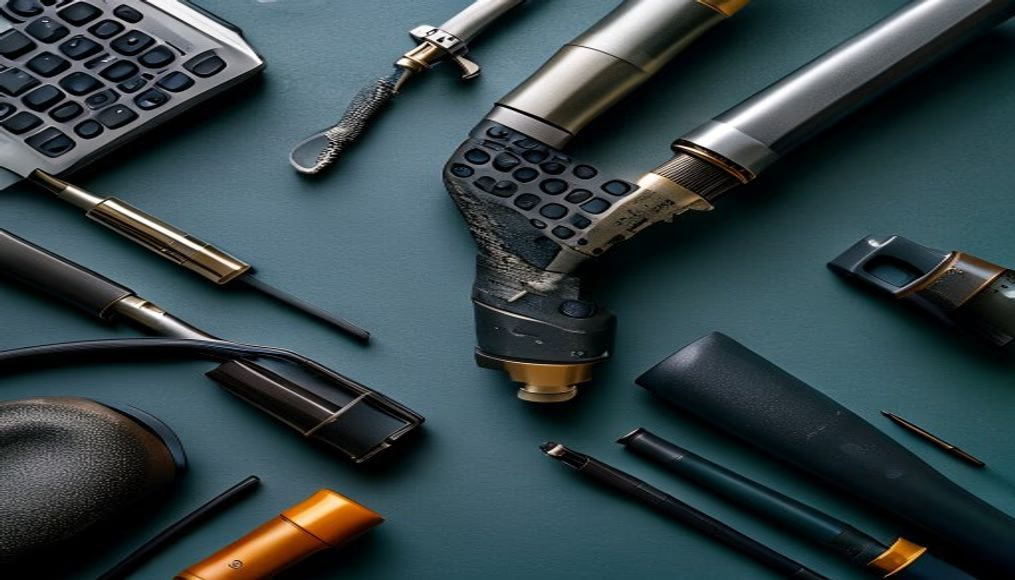
Lead came soldering: a traditional technique in stained glass art, joining lead strips with molten solder, requiring skill and safety precautions.
About this subject
Lead came soldering is a critical step in crafting traditional stained glass windows. The lead came, an H-shaped channel, wraps around glass pieces; at intersections, tin-lead solder is applied to lock the structure. The process requires precise temperature (around 200°C) and flux (resin or acid) to ensure adhesion and prevent oxidation.
Historically, this technique dates back to the Middle Ages, when Gothic cathedrals like Notre-Dame and Chartres used soldered lead cames in their stained glass. Lead is malleable and corrosion-resistant, ideal for windows exposed to weather. However, safety precautions are vital: gloves, respirator against fumes, and proper ventilation, as inhaling lead vapors is toxic.
Unlike the copper foil method popularized by Tiffany, lead came soldering is faster and sturdier for large panels. After soldering, the window is waterproofed with glazing putty and cleaned with whiting to enhance the shine.
Today, lead came soldering is employed in restoring historic windows and in contemporary art. Artists like Judith Schaechter push the technique with abstract designs, keeping a millennia-old tradition alive.
Frequently Asked Questions
What is the difference between lead came and copper foil in stained glass?
Lead came is an H-shaped lead channel used for large, traditional panels, being faster and sturdier. Copper foil allows finer details and curves, ideal for small pieces and Tiffany-style lamps.
Are there safety precautions when soldering lead came?
Yes. Lead releases toxic fumes when heated. Work in a ventilated area, use a respirator with metal fume filter, gloves, and avoid ingesting particles. After soldering, wash hands and surfaces with soap and water.
How is the soldered joint cleaned and finished in lead came work?
After soldering, apply glazing putty to seal between glass and lead for waterproofing. Then clean excess with whiting (powdered chalk) and polish with charcoal or graphite dust for a uniform sheen.
Direct URL
https://pub-c7d6a6ea828543ac903a74a341ccb2e1.r2.dev/imagens/lead-came-soldering-long-exposure-p1.avifHow to credit
Include a visible link back to UtilizAí. Copy one of the snippets below:
<a href="https://xn--utiliza-eza.com/en/midia/imagens/lead-came-soldering-long-exposure-p1">Lead came soldering</a> by <a href="https://xn--utiliza-eza.com">UtilizAí</a>, licensed under <a href="https://creativecommons.org/licenses/by/4.0/">CC BY 4.0</a>.
[Lead came soldering](https://xn--utiliza-eza.com/en/midia/imagens/lead-came-soldering-long-exposure-p1) by [UtilizAí](https://xn--utiliza-eza.com), CC BY 4.0
License: CC-BY-4.0