Product photography studio setup
1344×768 · AVIF · CC BY 4.0
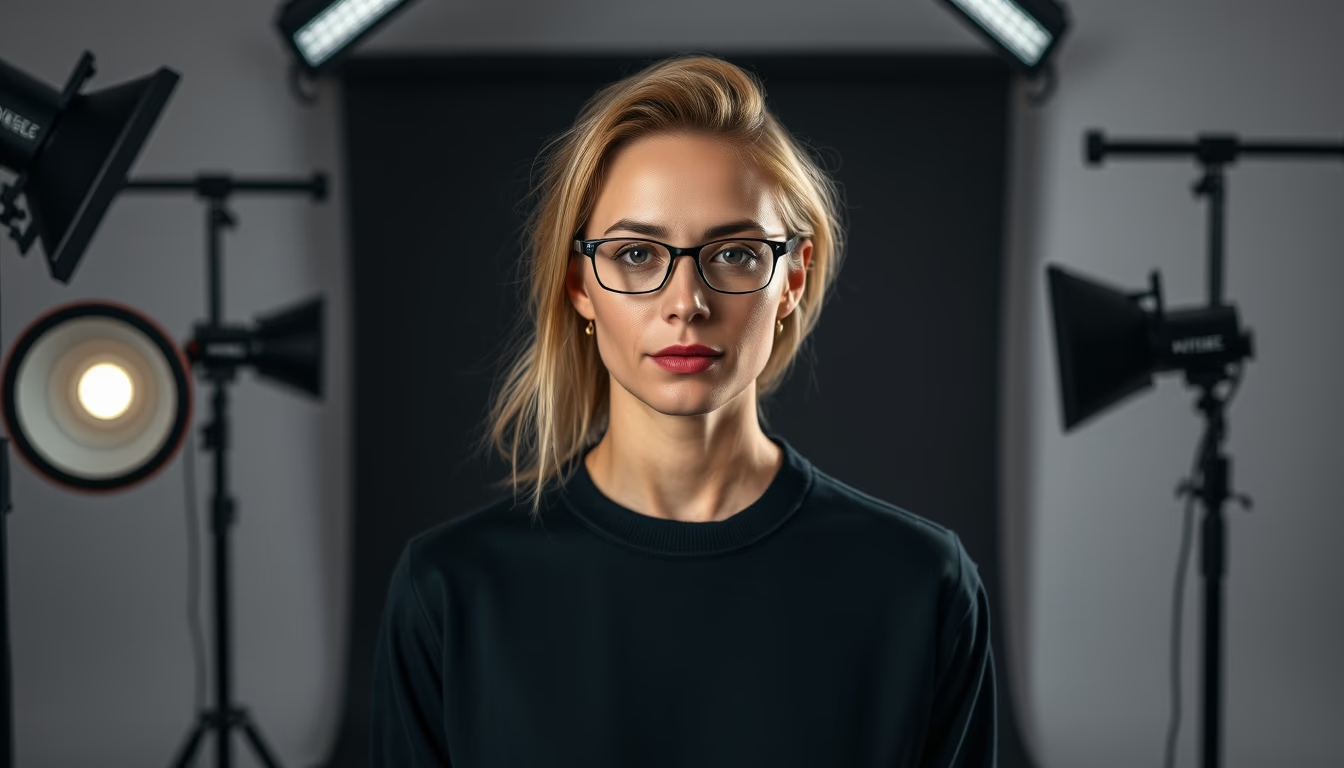
Learn about the essential equipment and techniques to set up a professional product photography studio.
About this subject
Product photography is a specialized field requiring full control over lighting, composition, and environment. A typical studio setup includes softboxes or octaboxes to soften light, reflectors to fill shadows, and a seamless background (usually paper or fabric) to avoid horizon lines. The most used cameras are DSLR or mirrorless with macro or focal lengths between 50mm and 100mm, minimizing distortion and capturing details.
Lighting is the most critical factor. Continuous LED lights or strobe flashes are positioned at specific angles to highlight textures and shapes. Techniques like light painting or side softboxes create dramatic or soft effects depending on the product. Color temperature is calibrated (usually 5500K) to ensure accurate colors.
The setup also includes accessories such as tripods, remote triggers, and portable light tables for small objects. Post-production in software like Adobe Lightroom or Capture One is standard for adjusting exposure, removing dust, and color grading. Electronics, cosmetics, and food brands often outsource this service, but small businesses can set up home studios with initial investments starting around $500.
Interestingly, product photography accounts for over 30% of online sales, according to e-commerce studies, as high-quality images increase consumer trust. In global markets, demand has surged with the rise of marketplaces, boosting training and equipment sales.
Frequently Asked Questions
What is the minimum equipment needed to set up a product photography studio?
The minimum recommended equipment includes a DSLR or mirrorless camera, a 50mm or macro lens, a tripod, two light sources (softboxes or flashes), a seamless background, and a reflector. With this kit, most small to medium-sized products can be photographed.
How do you choose the ideal lighting for each type of product?
Shiny or metallic products require diffused light with large softboxes to avoid unwanted reflections. Opaque objects can use more direct light to highlight textures. Food typically benefits from soft side lighting to enhance volume and color.
How important is post-production in product photography?
Post-production is essential to correct imperfections such as dust, adjust white balance, uniform colors, and remove unwanted shadows. Software like Lightroom and Photoshop allows refining the image to make the product look as true to life as possible.
Direct URL
https://pub-c7d6a6ea828543ac903a74a341ccb2e1.r2.dev/imagens/product-photography-studio-setup-studio-editorial-portrait-v3.avifHow to credit
Include a visible link back to UtilizAí. Copy one of the snippets below:
<a href="https://xn--utiliza-eza.com/en/midia/imagens/product-photography-studio-setup-studio-editorial-portrait-v3">Product photography studio setup</a> by <a href="https://xn--utiliza-eza.com">UtilizAí</a>, licensed under <a href="https://creativecommons.org/licenses/by/4.0/">CC BY 4.0</a>.
[Product photography studio setup](https://xn--utiliza-eza.com/en/midia/imagens/product-photography-studio-setup-studio-editorial-portrait-v3) by [UtilizAí](https://xn--utiliza-eza.com), CC BY 4.0
License: CC-BY-4.0